
Dev log – Day 4
Summary
Today focused on recovering from the asset loss of Day 3 by reconstructing most of the destroyed meshes, materials, and Blueprints and returning the project to its previous state. Building on that restored base, work continued on improving door and interaction logic, expanding button functionality, and polishing key gameplay systems. A major portion of the day went into developing the inventory system, including data assets, pickup logic, an inventory component, and functional add/remove operations. Several quality-of-life improvements were made along the way, rounding out a productive recovery and systems-focused day.
What I Worked on Today
Reconstructing Lost Assets
Managed to reconstruct most of the destroyed Day 3 assets and return to the previous project state.
Did not implement version control yet, but performed manual project backups twice a day.
Must create a script for automatic backups.
BP_Door Enhancements
Made the IsLocked variable instance-editable for quick door setup.
Added a Trigger variable (object reference, instance-editable) set to BP_Trigger.
From this variable, the OnTriggered event can be added via the Details panel.
Added a Branch to check IsTriggered; if true, the door executes UnlockDoor.


BP_Button Interaction Setup
Worked on BP_Button as a test element for BP_Door locking and unlocking.
Implemented BPI_Interact via Class Settings → Implemented Interfaces.
- LookAt: Verb = Press, Noun = Button
- InteractWith: Calls OnTriggered with IsTriggered = True


Door & Button Logic Recap
- BP_Trigger contains the OnTriggered dispatcher with a boolean input.
- BP_Door stores an object reference to a BP_Trigger in its Trigger variable.
- All children of BP_Trigger qualify through inheritance.
- When a BP_Trigger (or child) calls OnTriggered, BP_Door receives the IsTriggered value.
- BP_Door can implement any logic based on that value.
- In this case, BP_Button sends OnTriggered(True) on interaction.
- BP_Door receives it, checks if true, and runs UnlockDoor.

Additional BP_Button Features
Indented the button mesh when pressed:
- Used SetRelativeLocation (Z = -50), targeting the button mesh.
- Executed after calling OnTriggered.

Testing Door–Button Interaction
Placed BP_Door and BP_Button in the test area.
Set BP_Door IsLocked = true and assigned the nearby BP_Button as its Trigger.
Walking into the door’s sensor does not open the door (correct behavior).
LookAt shows “Press Button.”
Pressing the button indents it.
The door now opens when stepping into the sensor after pressing the button.


Button Reset Functionality
Added button reset behavior:
- Adjusted indentation to a more realistic depth (Z = 0.5).
- Added a float variable Timer (default = 1).
- Added SetTimerByEvent, using the variable for time.
- Created corresponding event and function OnButtonTriggered.
- Function resets button mesh to initial position.
Button now resets one second after being pressed.


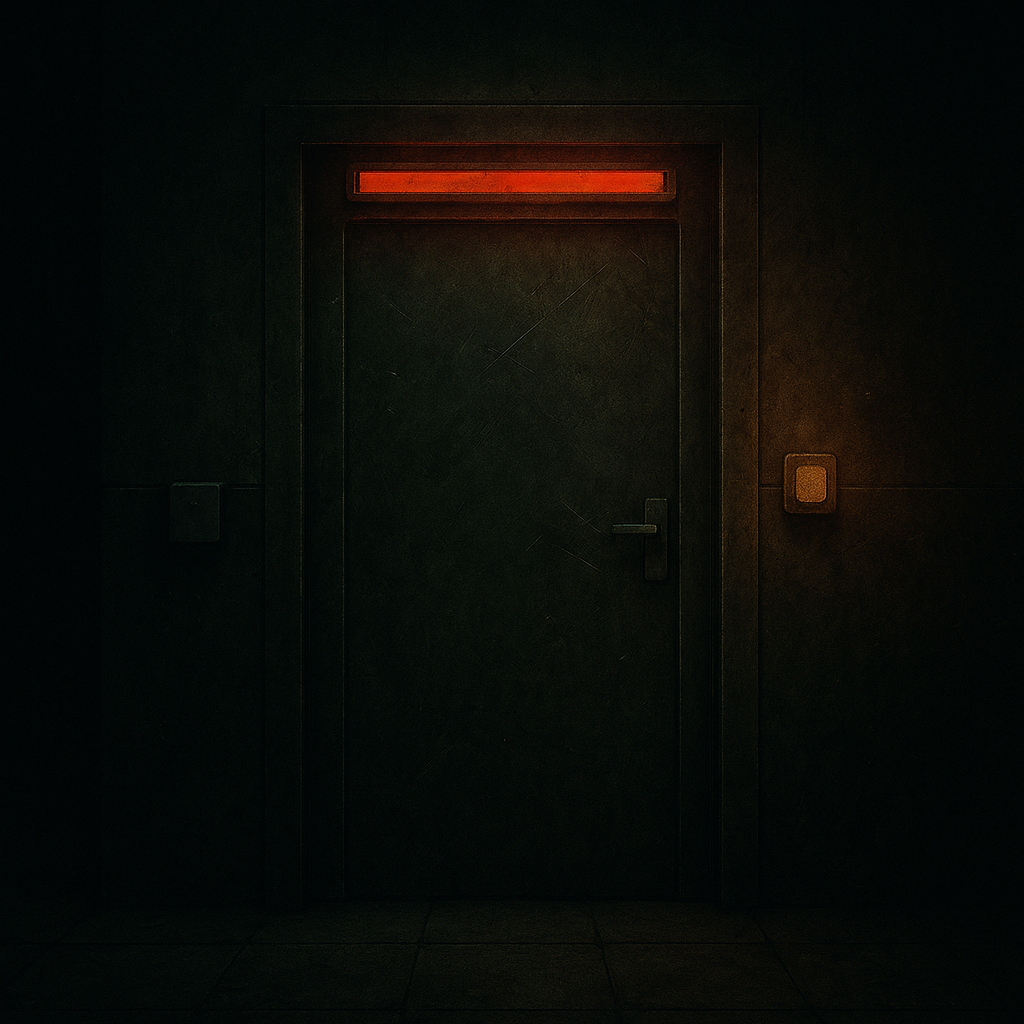
Door Lock Indicator Light
Added light slot to the door mesh.
Added cube mesh with MI_EmergencyLight applied.
In Construction Script:
- If IsLocked, set material color accordingly (Red/Green).
- In UnlockDoor, material color switches to Green.
- Removed the LightColor variable and hardcoded colors.


Making BP_Door Interactable
Implemented BPI_Interact.
In LookAt:
- If locked → Show no LookAt info.
- If unlocked → Run OpenDoor.

Starting the Inventory System
Goal: Simple inventory to pick up Fuse and Keycard, display HUD items, and allow item use.
Steps taken:
- Created InventorySystem folder.
- Moved old BP_Pickup to deprecated; created new BP_PickUp as parent class for pickups.
- Created DATA folder.
- Created DA_Items Primary Data Asset:
- Variables: Name (Text), Description (Text), Thumbnail (Texture2D), StaticMesh (Static Mesh).
- Created DA_Item as class for Fuse and Keycard, filled data, placeholder assets created.


Inventory System Improvements
Added DataAsset variable to BP_Pickup (type: DA_Item, instance-editable).
Added static mesh component.
In Construction Script:
- Validated Get DataAsset
- Get Static Mesh from DataAsset
- Set BP_Pickup static mesh accordingly
BP_PickUp now properly displays data asset values.


Adding Interaction to BP_Pickup
Confirmed interact channel blocked by static mesh collision (correct).
Implemented BPI_Interact.
LookAt:
- Verb = Pickup
- Noun = Name from DataAsset
Pickup interactions now display unique item names.


Expanding Inventory System
Created AC_InventorySystem actor component.
Added to BP_FirstPersonCharacter.
Created variables:
- Content (map of DA_Item to Integer for quantity).
- Allows scalability and future item tracking.
Created functions:
- AddToInventory
- RemoveFromInventory
- QueryInventory


Implementing AddToInventory
Inside AddToInventory:
- Map Add does not sum; must manually add values.
- Added inputs: Item (DA_Item), Quantity (Integer).
- Find current quantity, then add new quantity to it.
- Map Add stores the sum.
- Added Return output (Boolean) set to True on success.


Implementing RemoveFromInventory
Inside RemoveFromInventory:
- Inputs: Item (DA_Item), Quantity (Integer).
- Find current quantity.
- Check if current quantity ≥ quantity to remove.
- If valid, subtract quantity and update map.

Quality of Life Changes
Resized Keycard and Fuse static meshes via Modeling Tools → Transform Scale → Bake Transform for better world fit.

Technical Notes
- Door unlocking logic now supports flexible triggering through instance-editable references.
- Button indentation and reset timing improve clarity and feedback.
- DataAssets allow clean, scalable item definitions for inventory.
- Map-based inventory is robust and future-proof for quantity tracking.
- Construction Script mesh assignment ensures pickup visuals always match data.
Challenges & Lessons Learned
- Manual reconstruction of destroyed assets is time-consuming; automatic backups or version control is critical.
- Trigger-based systems require careful variable exposure to ensure flexibility.
- Inventory maps require explicit value addition, not implicit incrementing.
- Collision settings on pickups must allow interaction traces to pass through.
Next Steps
- Build the HUD display for the inventory, showing acquired items.
- Finalize item usage logic (Fuse insertion, Keycard readers).
- Implement automatic backup script or full version-control setup.